|
|
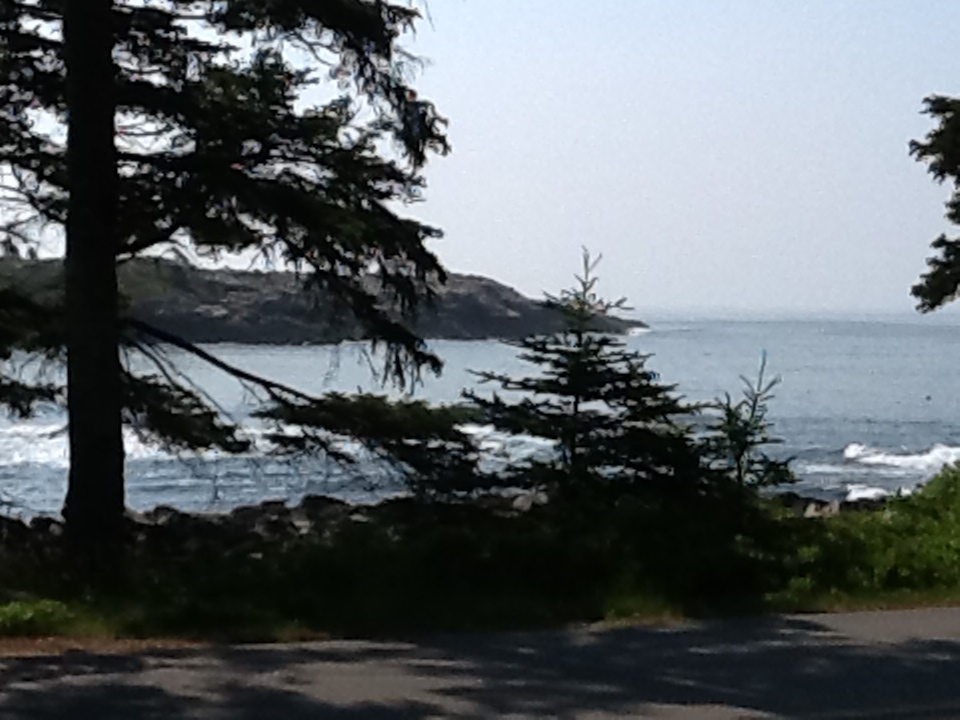
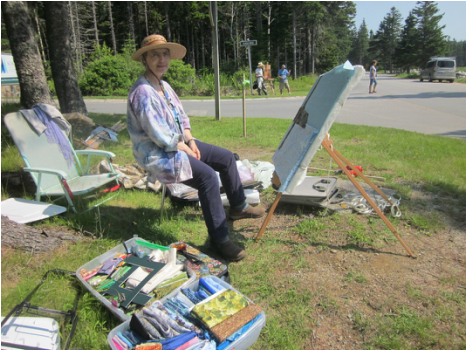
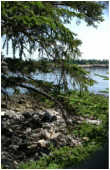
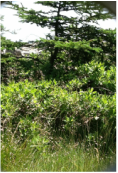
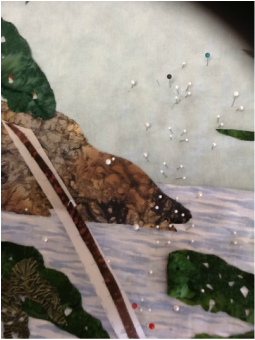
take reference photos to use when quiltingTake a whole scene and several close ups for details that will be added in the quilting.
|
|
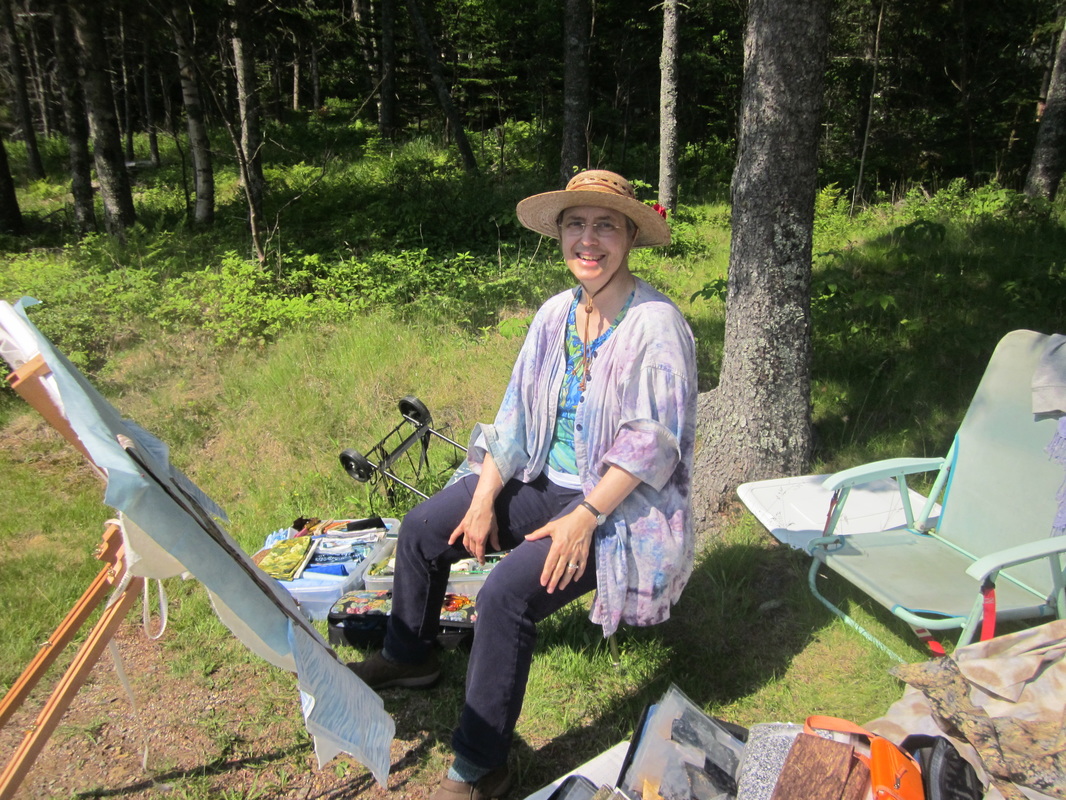
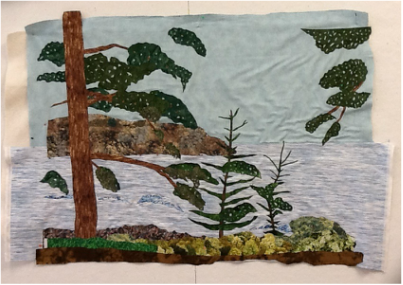
all pieces pinned to the boardall this was completed on location to this point
|
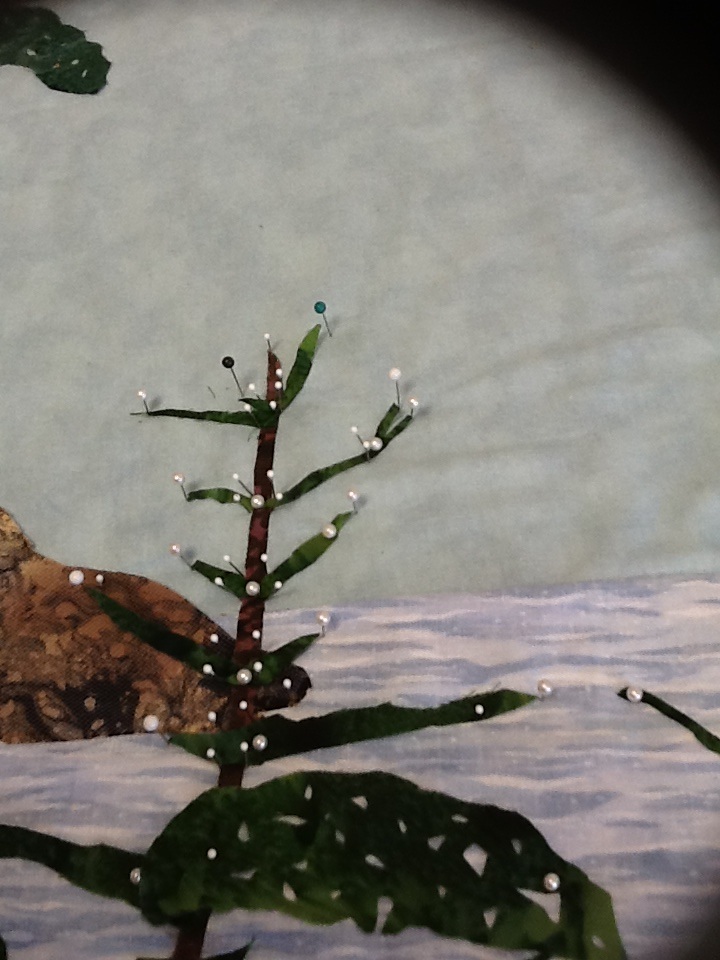
Back in the studiosurround each piece with pins so they can be removed to put the "Steam-a-seam 2 lite" on and then be put back in the same place
|
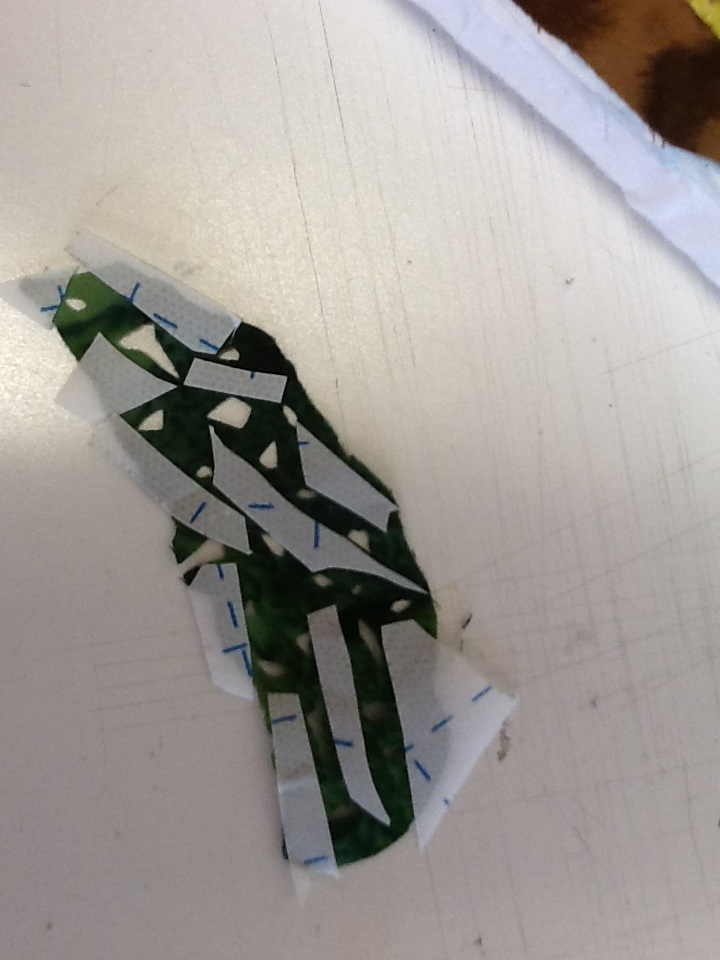
Add the Steam-a-Seam and then trim it to size. On the foliage pieces with holes add small tabs of Steam-a-Seam. Do not cover the holes or you will get melting glue all over your iron. Remove the second paper and stick piece back in between the pins marking the original location of the piece.
|
When all the pieces have Steam-a-Seam on them and the pins are all removed, iron the whole piece following directions. Then add a backing and pin to prepare for the quilting process.
|
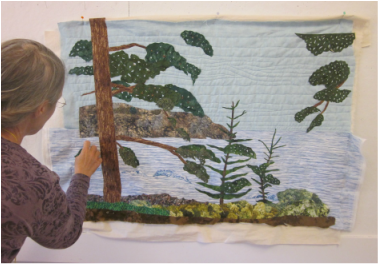
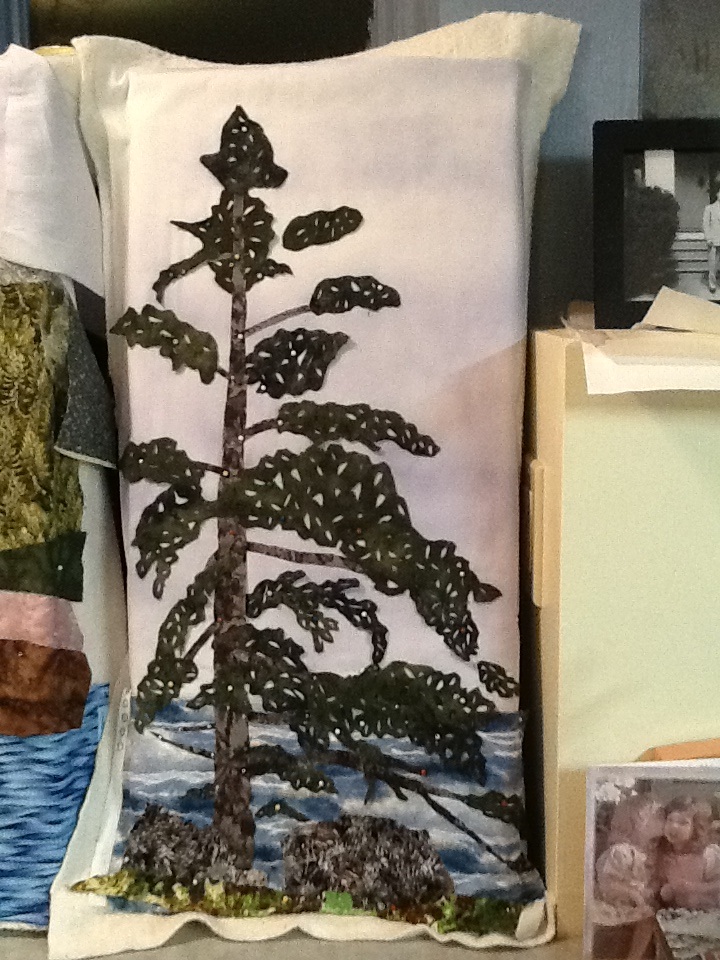
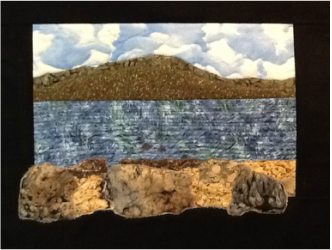
Here I have begun the quilting process. The sky and water are quilted. Remember to stop and hang your piece up so you get a long view of it before moving onto each section so you can plan your quilting pattern.
|
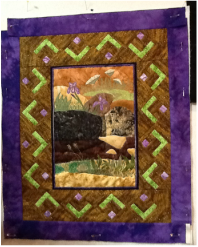
Decide what type of border if any you want to use and how you will finish the piece: mount it on a board, mat it and frame it under glass, make soft borders and add a hanging sleeve, or incorporate it into a larger quilt.
|
|